


Learn how to inflate your SUP
From the Pau Hana SUP School
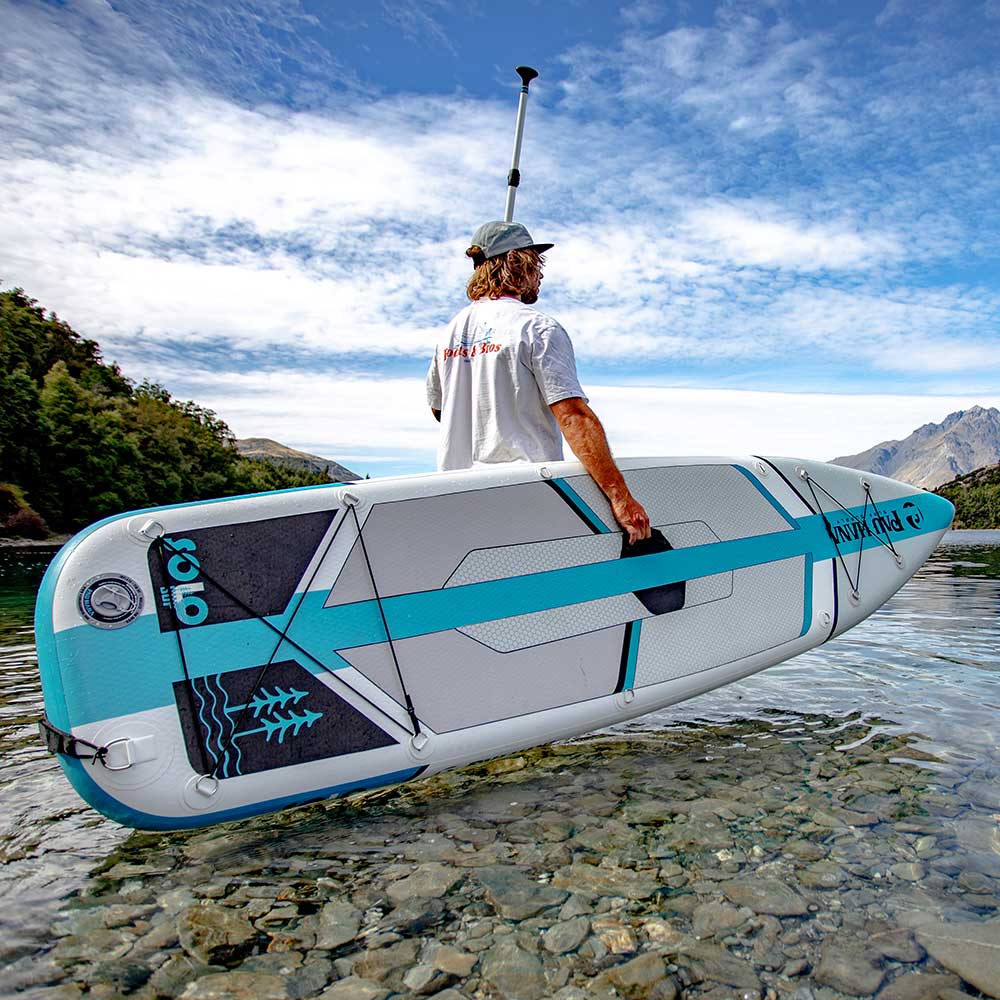
Welcome to the Pau Hana SUP School's ultimate guide on how to inflate your paddle board . Whether you're a beginner or an experienced paddler, this step-by-step tutorial will walk you through the setup and breakdown of your inflatable stand-up paddle board. Our focus today is on boards equipped with a Halkey-Roberts (HR) Valve and those that utilize a double action pump for inflation. If you're unsure about the type of valve or pump your SUP uses, we recommend contacting the manufacturer or referring to the visual aids provided in this guide.
1. Unpacking the Inflatable SUP
Unzipping the backpack, you may find straps securing the rolled-up board. Unclip or untie these before unrolling the board with the top side facing upwards. This side features the pump insertion points. Avoid attaching the fin at this stage to ease the inflation process and to prevent any damage to the fin itself.

2. Locating the Pump Insertion Area
The pump insertion area is typically located beneath the pad, secured by velcro. Access it by gently pulling on the edge of the flap, preparing the board for the next step.

3. UNSCREWING THE CAP
Turn the plastic cap counter-clockwise to uncover a small nib. Ensuring that this nib is protruding is crucial; it should rebound when pressed lightly. This small detail is vital for a successful inflation process, as it prevents air loss during pumping.


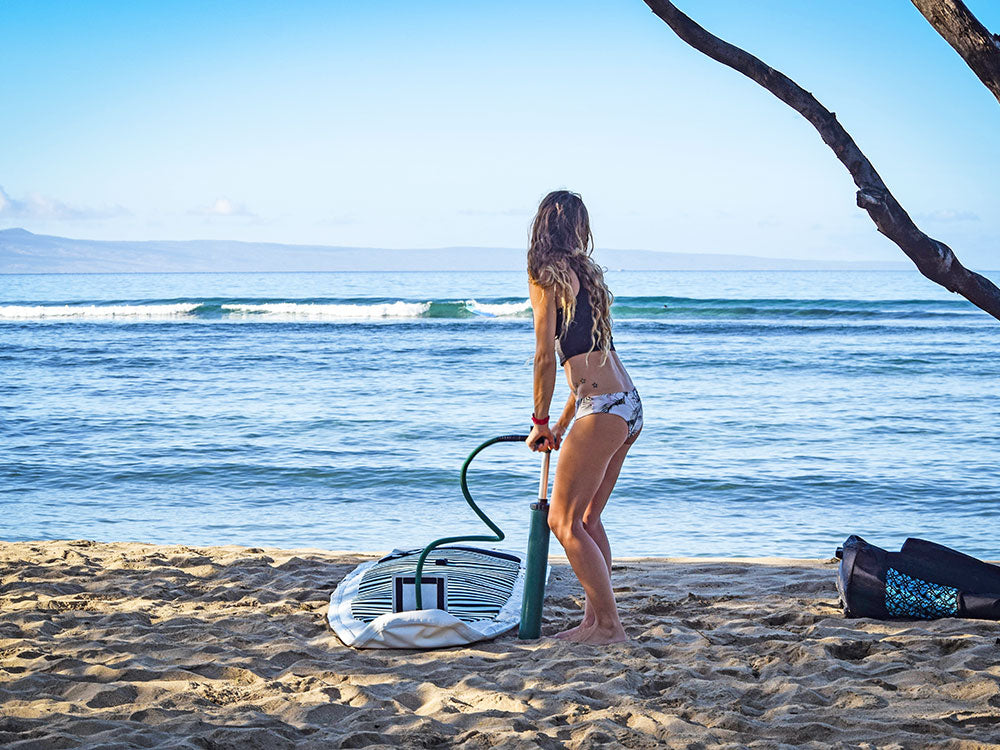
4. PUMP IT UP!
Attach the pump hose to the "out" side of the pump. This may require a bit of effort to locate. If the pump lacks a label, you'll notice resistance when pumping incorrectly. Secure the hose to the board's valve with a clockwise turn, ensuring a tight seal, then pump vigorously up and down.

5. Pumping with Ease
Attach the pump hose to the "out" side of the pump. This may require a bit of effort to locate. If the pump lacks a label, you'll notice resistance when pumping incorrectly. Secure the hose to the board's valve with a clockwise turn, ensuring a tight seal, then pump vigorously up and down.

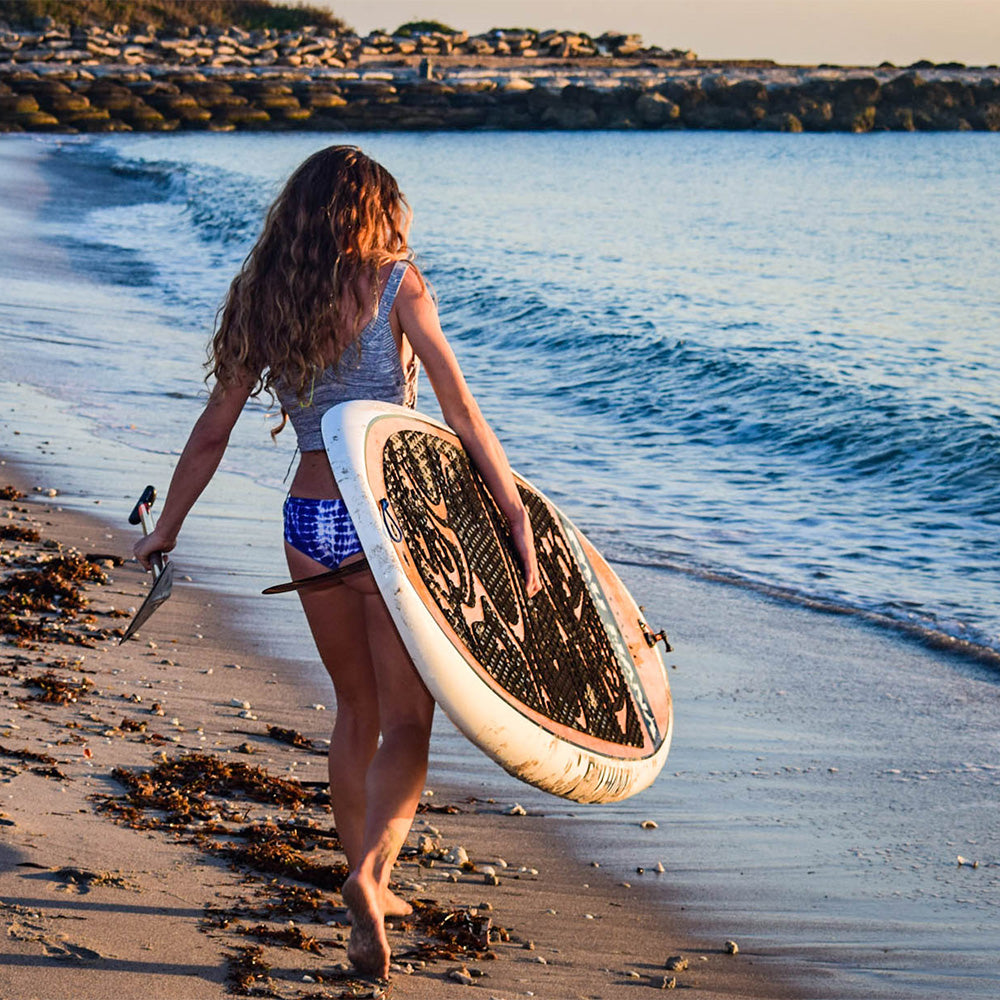
6. Fin Installation
Depending on your paddling plans, position the fin appropriately in the fin box using the notch and slide mechanism. Secure it with the provided hand screw, ensuring it's tightened for stability. For more information on fin placement, check out our article here.
7. Deflating and Packing the SUP
Prioritize cleaning the board before deflation to simplify the process. Find a flat surface, remove the fin, and open the valve by pressing and turning the nib to release the air. Rolling the board from the end opposite the valve helps expel remaining air, making storage easier.
Inflating your paddleboard infographic

This guide aims to demystify the inflatable SUP setup process, ensuring you spend less time on prep and more on the water. For those interested in exploring Pau Hana's range of inflatable paddle boards, check out our selection here.
Remember: Proper maintenance and correct inflation are key to maximizing the life and performance of your paddle board. For more tips on paddle board maintenance and adventures, keep browsing our site. Share this guide with fellow paddling enthusiasts and hit the water with confidence!

