Order Hard boards by December 5th to get it for Xmas + $99 shipping to cont. US and Hawaii

Pau Hana Product User Guides

Welcome to the Pau Hana encyclopaedia of information on using your gear. We will update this section regularly and add as much useful information as we can to help you get the most out of your products and time on the water. If you can't find something you're looking for fill in the form below and we will do our best to help you find the solution.

USER MANUALS

STOWAWAY PADDLE INSTRUCTIONAL GUIDE

STOWAWAY/SOLO SUP™ FIN INSTALLATION GUIDE

SOLO PADDLE™ INSTRUCTIONAL GUIDE

SOLO SUP™ BACKCOUNTRY USER MANUAL

pau hana Solo SUP Backcountry inflatable stand up paddle board user manual page 1
pau hana Solo SUP Backcountry inflatable stand up paddle board user manual page 2-3
pau hana Solo SUP Backcountry inflatable stand up paddle board user manual page 4-5
pau hana Solo SUP Backcountry inflatable stand up paddle board user manual page 6-7
pau hana Solo SUP Backcountry inflatable stand up paddle board user manual page 9

INFLATABLE PADDLE BOARD USER MANUAL

pau hana inflatable stand up paddle board user manual page 1
pau hana inflatable stand up paddle board user manual page 2-3
pau hana inflatable stand up paddle board user manual page 4-5
pau hana inflatable stand up paddle board user manual page 6-5
pau hana inflatable stand up paddle board user manual page 8

HOW TO GUIDES

INFLATE YOUR PADDLE BOARD

This how-to explains the basic set up & break down of an inflatable stand up paddle board using the Big EZ Air inflatable stand up paddle board as a sample. These instructions should work for any board that uses a Halkey-Roberts (HR) Valve and uses a double action pump to inflate the board. If you are not sure what type of valve or pump you have then call the maker of your SUP or look at the pictures in this post.

For more information and to see the infographic on Inflating Your Paddle Board click HERE.

POSITION YOUR FIN

Learn how to properly position a fin into the fin box of a stand up paddle board. Depending on the type of paddling you are planning on doing, the placement of the fin can have a great impact on the way the board handles. In general, the placement of the fin in the middle of the fin box is usually the sweet spot for most riders and for most everyday types of paddling. For paddling that requires lots of turning like surfing, place your fin as forward as you can. For paddling that will not require much turning like touring, place your fin as far back as you can.

To see the Positioning Your Fin infographic, click HERE.

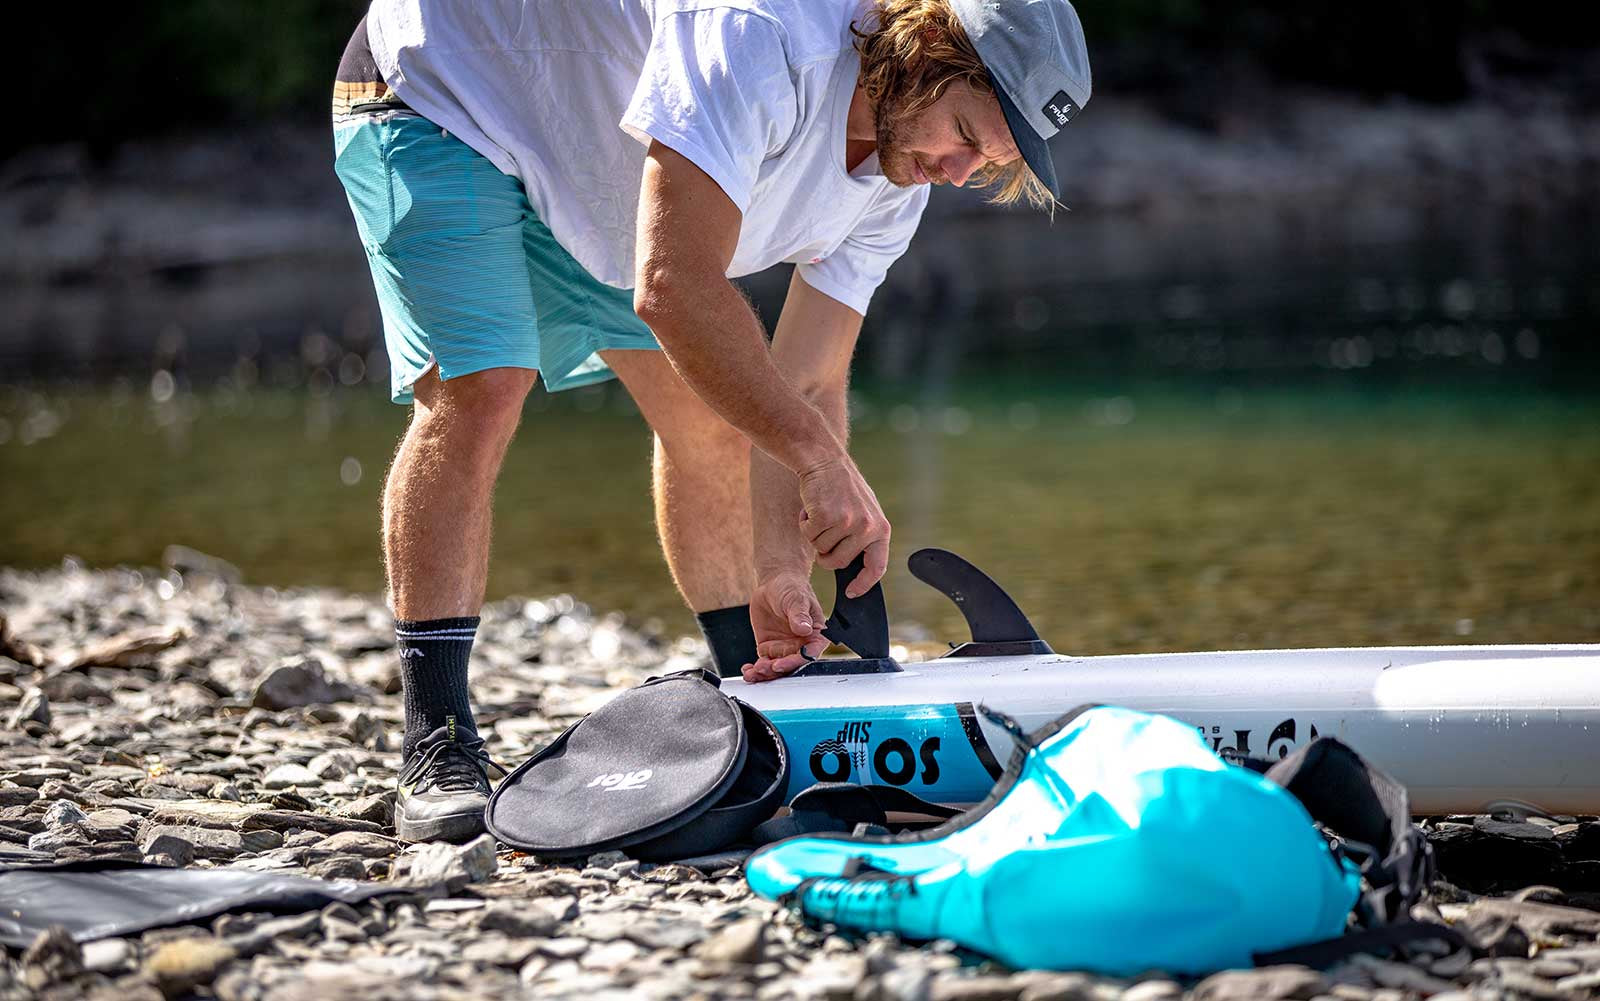
INSTALL A FIN on A HARD BOARD

This video explains how to install a fin into a hard paddleboard.

1: Put the square washer onto the end of the screw.

2: Hold the screw and lower the washer into the track.

3: Slide the washer forward.

4: Lower the dowel into the track and slide it back.

5: Lower the front of the fin and line up the hole in the top to the hole in the washer.

6: Drop the screw in through the hole and tighten into the washer.

7: Tighten only a turn and an half to two times after making contact with the bottom.

Tip: When ever the fin is removed from the board, always put the screw and washer back into the track so it doesn't get lost.


For more information and How-To's click HERE.

INSTALL A FIN FOR AN INFLATABLE BOARD WITH A THREADED FIN BOX

This video explains how to install a fin into an inflatable paddleboard with a threaded fin box.

1. Remove the plate from the fin hardware and keep it in your repair kit. It is not needed with a fin box that has threading.

2. Insert the dowel in the large opening of the fin box and slide fin forward.

3. Press the fin down in place. The hole will be lined up with the threading.

4. Insert the thumb screw in the hole and screw into place until hand tight. Do not overtighten.

5. When the Fin is removed store the Thumb Screw in the Repair Kit so it does not get lost.


For more information and How-To's click HERE.

Install the side bites

This video explains how to install side bites onto a paddle board.

1: Backout the nut from the side bite fin box, but not all the way, just enough so the fin can slide in without hanging on the screw nut.

2: Slide the fin into the back notch and lower the front in.

3: Tighten the screw so that it's snug but not too tight to prevent stripping. Depending on the type of paddling you are planning on doing determines whether or not you need them. In the surf it will pull your board around and turn easier, and on flat water, it will keep you moving straighter.


For more information and How-To's click HERE.

Install a leash

This video explains how to attach a leash onto a paddle board.

1: Insert the leash cord into the cup.

2: Use the cup closest to your back foot in a surf stance.

3: Open the velcro straps.

4: Insert the velcro strap through the cord loop to the crease.

5: Fold and press the velcro together.

To purchase 10' coil leash: CLICK HERE


For more information and How-To's click HERE.

Adjust your SUP paddle

Learn how to properly adjust your paddle to the correct length for each type of rider.

1: Vertically stand paddle with blade on the ground and handle in the air.

2: Push in metal button on the shaft of the paddle.

3: Pull top of handle to the middle of the palm of your hand.

4: Make sure that the button clicks out at a new hole to insure that the paddle is secure.


For more information and How-To's click HERE.

Install a D-ring with Bungee

Learn how to install the D-ring and budgee system on your stand up paddle board.

1: Lightly Spray each screw with lubricating oil, like WD-40 on first use and a couple times a season after that.

2: Place each D-Ring over a SeaMount® on your paddle board and use a phillips head screwdriver to screw the D-Rings into place. Do not overtighten screws. The four SeaMounts® on the front of the paddle board are the preferred location for placement for most paddlers.

3: Run the bungee cord through the 4 D-Rings in an “X” pattern.

4: Pull the ends tight and secure with an overhand knot.

5: Rinse paddle board and accessories with freshwater after use in saltwater to avoid rusting.


D-ring Kit Contains:

4 D-Rings

4 Screws

1 Bungee Cord

For more information and How-To's click HERE.

Adjust the Aluminum sup paddle

An instructional guide on adjusting the Aluminum SUP Paddle.

HOW TO SET UP THE CALYPSO STAND-UP KAYAK

Learn how to install the window and seat onto the Calypso stand-up kayak.

1: Pump the Calypso to 15PSI, making sure the nip on the valve is in the UP position.

2: Add the window and pump to 3PSI - do not overinflate the window. Adjust the window into position if necessary.

3: The calypso has threading installed in the fin box. TIP: Keep the fin hardware in the repair kit so you do not loose it! The plate that comes with the hardware is not needed since the box has threading. If the fin box does not have threading use the plate. (plate>fin>screw)

4: Insert the dowel into the large opening in the fin box and slide the fin forwards.

5: Press the fin down and use the thumbscrew to secure fin in place.

6: Move your Calypso to the water to set up the seat. Make sure the fin is in deep enough water.

7: Add the foam block and then the seat on top.

8: Clip the seat onto the D-Rings on both sides of the Calypso, adjusting the straps for a proper fit and to find the position you want the seat to be in.

9: The foam block has a hole in the back. Insert the paddle piece that is not in use. To secure it down for extra protection put it through the bungee cord.


CAN'T FIND THE INFORMATION YOU NEED ABOUT A PAU HANA PRODUCT?

CLICK BELOW TO FILL OUT YOUR QUESTION AND WE WILL BE IN TOUCH WITH HELP