


Bikepacking is already a gear-optimization sport. You're packing a multi-day adventure into small bags strapped to a narrow bicycle frame, chasing water sources, camping spots, and single-track in equal measure. Adding a paddleboard to that equation sounds insane, until you try it, and then it sounds like the best idea you've ever had.
The bikepacking + paddleboard crossover is genuinely new territory. Searches for "bikepacking with paddleboard" return almost nothing. The community doing this is seemingly small, self-invented, and very stoked about it. This guide is for anyone who's stood at a river crossing or spotted a lake on a topo map mid-route and thought: I wish I had a board right now.
Here's how to make it work.
"Life's better with a paddleboard and a little curiosity. Whether you're rolling in on two wheels or two feet, every waterway is a chance to explore.”
Why Bikepacking and SUP Make Sense Together
Bikepacking routes cover a lot of ground, and a lot of that ground is often near water. River corridors, mountain lakes, coastal paths, reservoir crossings. Most bikepackers ride past these spots and look longingly at the water. A very small number pull out a paddleboard, blow it up and get in.
The overlap makes logical sense once you think about it:
- Both activities are gear-optimization sports that reward ultralight, compact setups
- Bikepacking routes often parallel or cross waterways that are perfect for paddling
- Rest days on a bikepacking route are better spent paddling than spinning in camp
- The self-supported ethos of bikepacking aligns perfectly with the backcountry SUP mindset
- Both communities skew curious, outdoorsy, and willingness to type-2 fun their way to a good story
The challenge, obviously, is the board. Standard inflatables don't work on a bike. But a genuinely ultralight inflatable that packs into a 40-liter bag? That's a different story.
The Core Challenge: Getting the Board on the Bike
Let's be direct: mounting a paddleboard to a bicycle requires some creativity. There's no off-the-shelf solution, yet. But bikepackers are, as a group, extremely good at solving gear puzzles with straps, mounts, and DIY ingenuity.
The approaches that work best depend on your bike setup and the board you're carrying. Here's an overview:
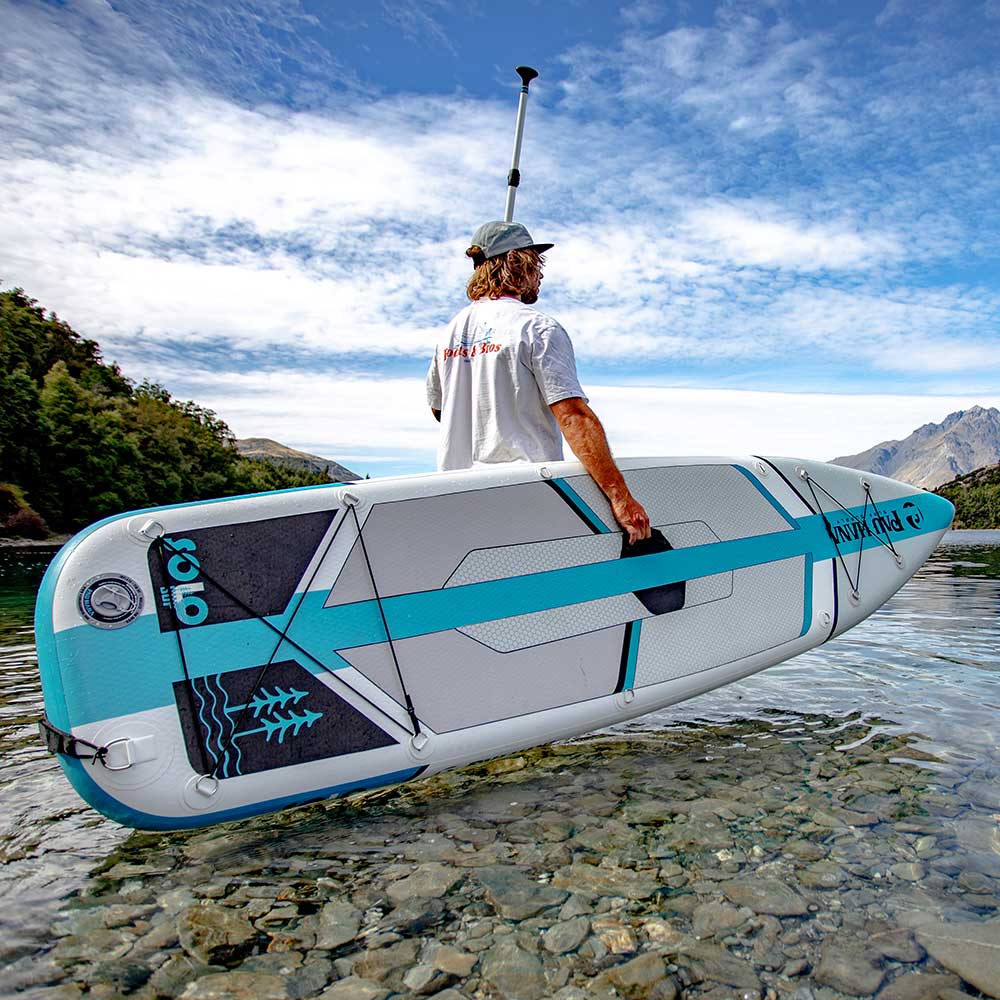
Option 1: Frame Bag Integration (Solo SUP™)
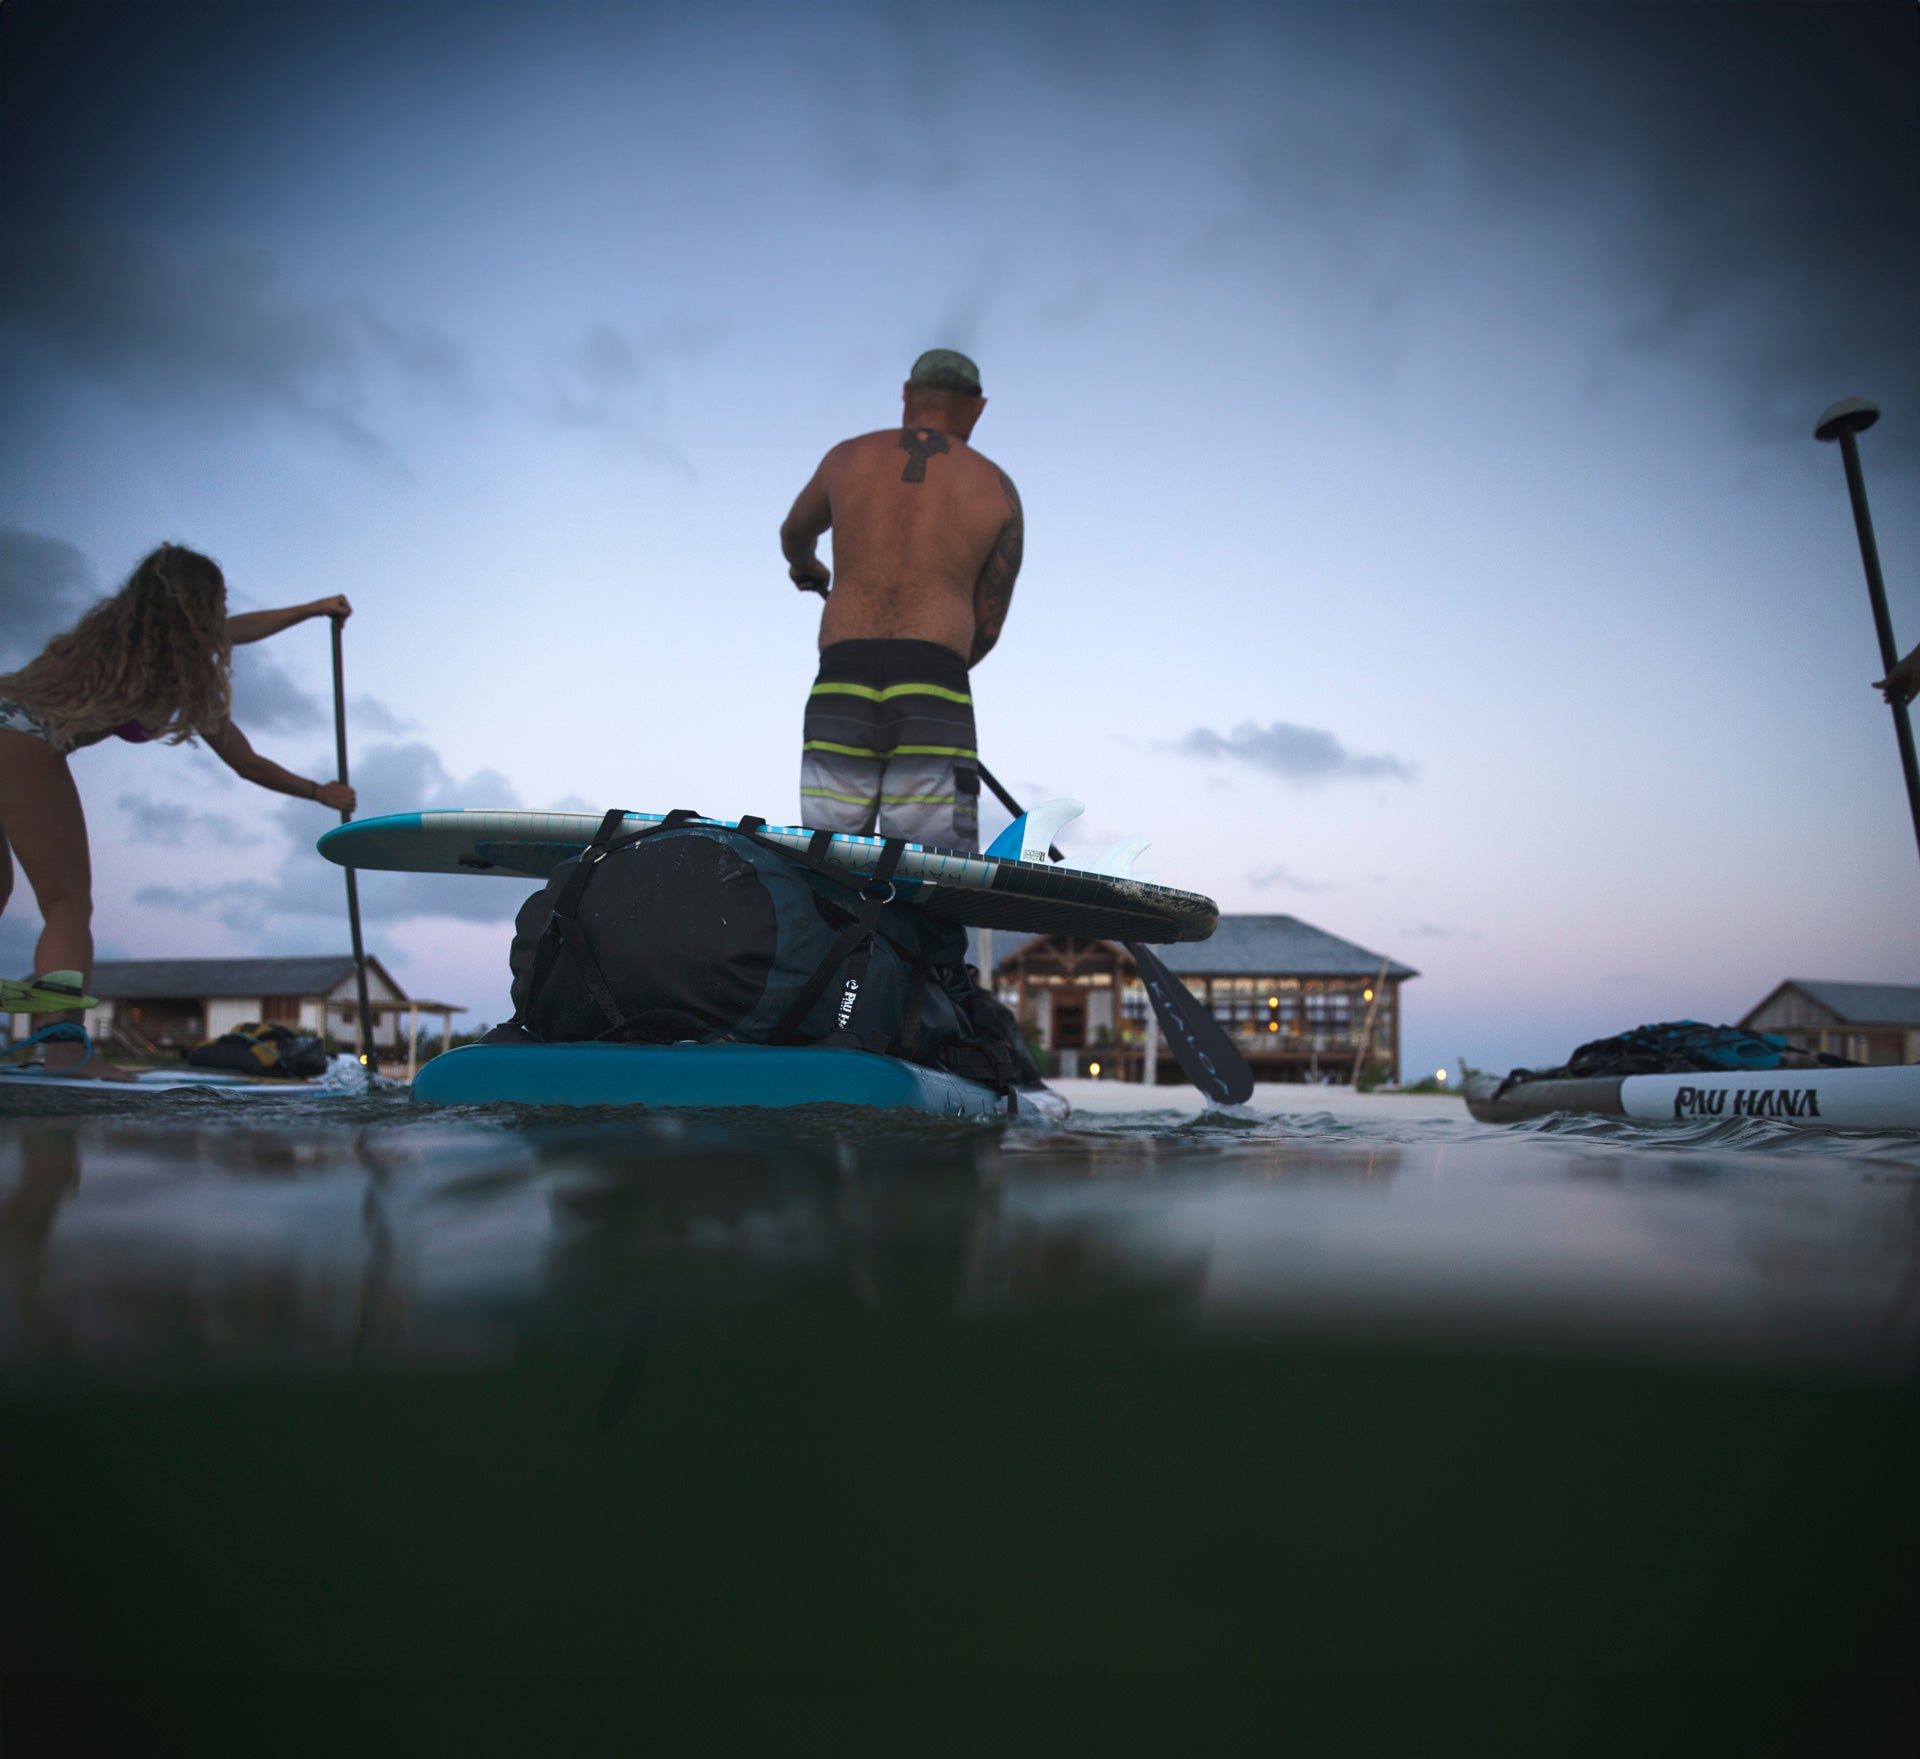
The Solo SUP™s drybag backpack is 40 liters, which happens to be in the range of large handlebar bags and frame bags used in bikepacking. When strapped correctly, the rolled board-in-bag can be lashed to the top of a large frame bag or hung off the side of a rear rack setup or grappled to the handlebars.
The key advantage: the drybag's waist harness, chest strap, and shoulder straps give you multiple anchor points for lashing. Combine with two or three high-quality compression straps (Voile straps are popular in the bikepacking community) and the package is more secure than it looks. You can check out our cinch straps Here.
This works best on:
- Gravel bikes with large frame triangles and mid-fork mounts
- Mountain bikes with rear cargo rack compatibility
- Cargo bikes or bikepacking-specific rigs with modular loading systems
Option 2: Trailer Integration
For multi-day routes where you're willing to pull a small trailer, a lightweight bikepacking trailer (Bob Yak style, or lighter alternatives) can carry the board comfortably. The Solo SUP™s 40-liter drybag drops into a standard bikepacking trailer with ease.
This is the most weight-efficient system: the trailer takes the board, your saddle bags take personal gear, and your frame bags carry food and water. The total overhead on bike performance is manageable on flatter routes and gravel roads.
Option 3: Wear It
On shorter routes or approach rides (riding to a specific lake or river for a day's paddling, then returning), simply wearing the drybag as a backpack is straightforward. The 40-liter pack with waist harness is designed for exactly this. At 14.8 lbs total board weight, it's lighter than many hiking packs people wear on bikes.
For approach rides up to ~15-20 miles on gravel or trail, wearing the pack is the simplest solution, no mounting gear, no rigging, just ride.
| Mount Method | Best For | Route Type | Rider Skill Needed |
| Lash to frame bag | Multi-day bikepacking routes | Gravel/MTB | Moderate rigging knowledge |
| Bikepacking trailer | Loaded multi-day with rest day paddling | Gravel/road | Basic trailer handling |
| Wear as pack | Short approach rides to water | Any | Good bike handling |
Weight and Volume: Bikepacking SUP Math
Bikepackers obsess over every gram. The typical loaded bikepacking rig targets a total system weight - bike plus all gear - somewhere between 30 and 50 lbs depending on route length and style. Adding a paddleboard sounds like it blows that budget.
Here's the math with the Solo SUP™:
| Item | Weight |
| Solo SUP™ board | 14.8 lbs |
| Solo Paddle™ (5-piece rollable blade) | 1.6 lbs |
| Nano Pump | Approx. 0.8 lbs |
| Twin 6" quick-snap fins + leash | Approx. 0.4 lbs |
| 40-liter drybag pack (empty) | Approx. 0.7 lbs |
| Total SUP kit weight | Approx. 18.3 lbs |
18.3 lbs is a significant addition to a bikepacking kit, but it's also an entire paddleboarding setup. In the context of a route with multiple paddling opportunities, that trade-off can be worth it.
Weight savings tip: the Solo Paddle™'s rollable blade is purpose-built for compact storage. Unlike a standard three-piece SUP paddle, it goes inside the drybag rather than strapping externally. That matters on a bike, where external lashing catches wind and wobbles.
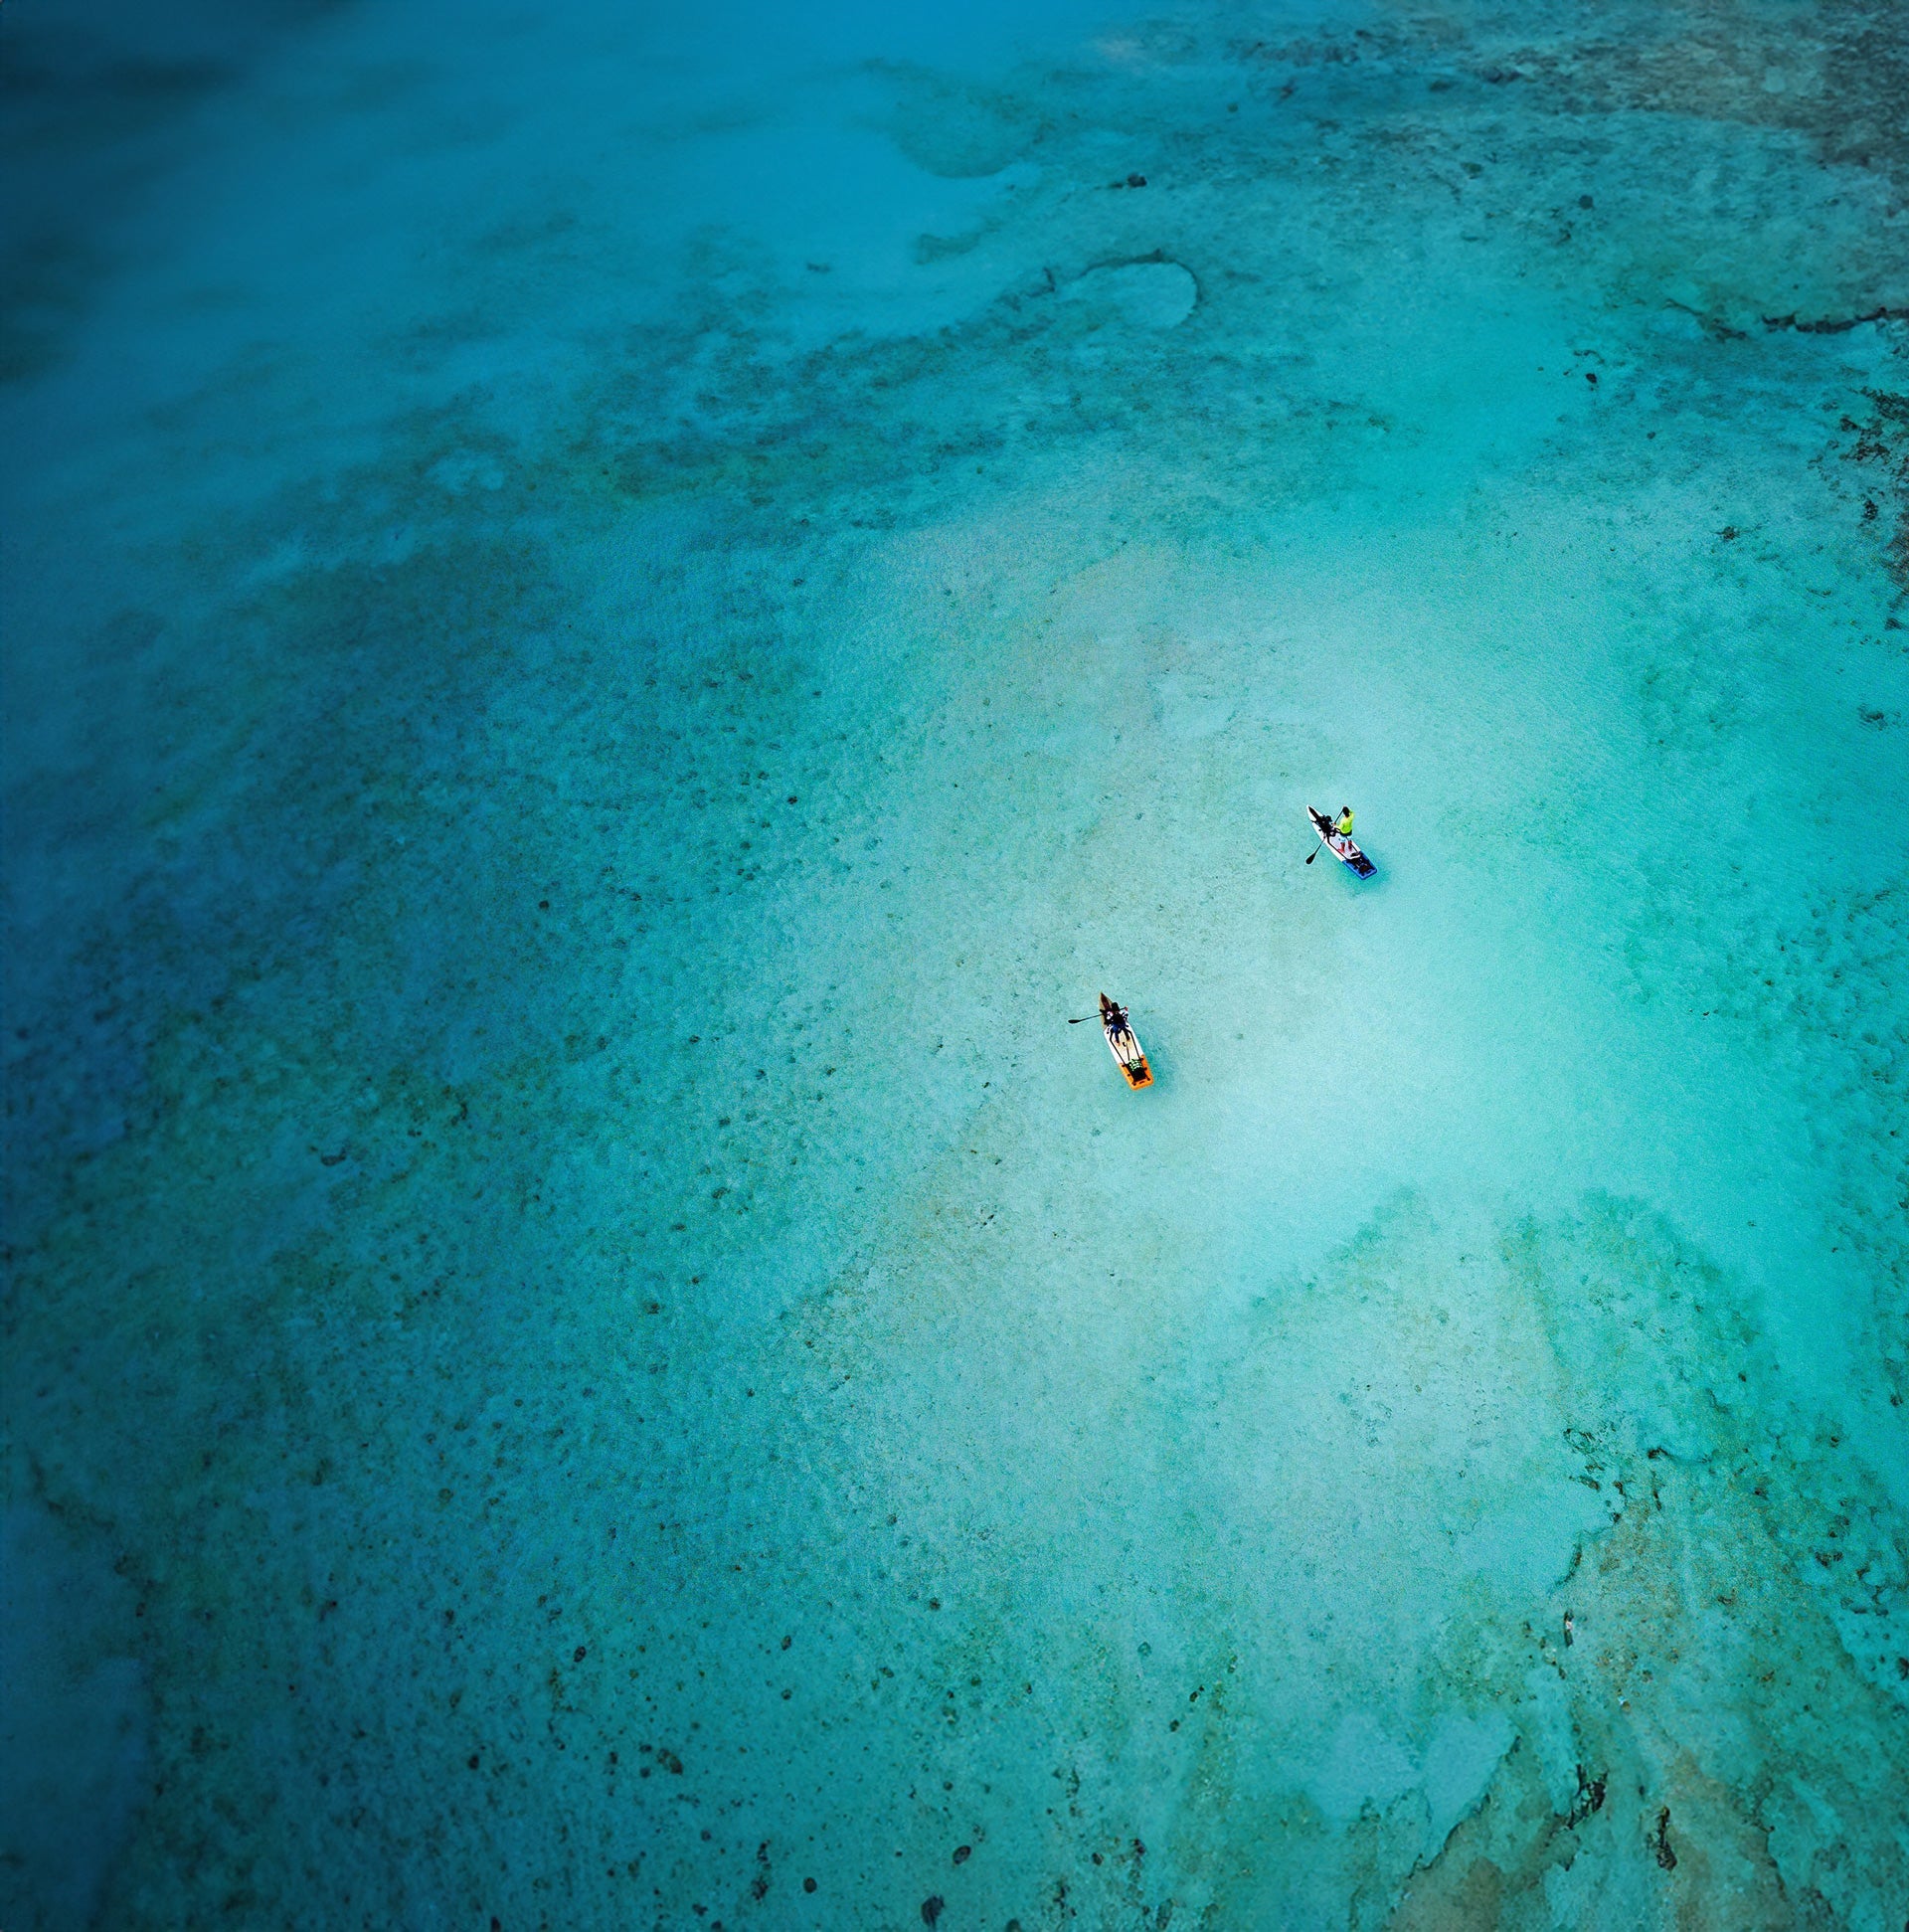
Route Planning: Finding Bikepacking Routes with Paddling Potential
How to Think About Route-Water Intersections
The best bikepack-SUP routes have multiple water access points spaced 1-3 days apart. This gives you something to look forward to on the bike and a logical reason to carry the board for multiple days of riding.
Ideal route features:
- River corridors - routes that follow rivers offer frequent swim spots and occasional paddling windows in calmer sections
- High-elevation plateau sections with alpine lakes accessible from camp - you ride to a base, hike to the lake, paddle, return
- Coastal routes where calm sections of estuary or protected bay allow launching from a beach
- Reservoir crossings - some routes bypass or approach reservoirs where a quick paddle session is possible
Route Examples to Inspire
These are archetypes, not prescriptions, but they illustrate the kind of route thinking that makes bikepack-SUP work:
- A gravel route through a mountain range that crests at 8,000+ ft with alpine lakes on the plateau, then descends to a river corridor - two entirely different paddling environments on one route
- A coastal gravel route that follows a headland with multiple protected estuary access points - calm water, sea birds, total contrast to road cycling
- A multi-day loop in a national forest with a designated wilderness lake as the midpoint camp - ride in, rest day paddle, ride out
Tools for Water-Aware Route Planning
- Gaia GPS - overlay topo with water body layers; you can spot lakes and assess shore access from the map
- Ride With GPS - has water source layers that show rivers and lakes, plus community notes sometimes mention swim spots
- CalTopo - the most detailed topo tool; use it to assess lake shore topography for launchability
- Strava heatmap - trails and roads with high activity near water bodies often have established beach or bank access
"Whether it's your neighborhood lake or a secret surf spot found at the end of a day's ride, every paddle is a chance to explore. Share the Stoke."
The Full Bikepack-SUP Kit
On the Bike
- Bike + bags - frame bag, top tube bag, seat bag, handlebar bag (standard bikepacking setup)
- Solo SUP™ drybag - lashed to frame or carried as pack
- Voile straps x2-3 - for securing the drybag to frame-mounted bag system
SUP Gear
- Solo SUP™ board (included in drybag kit)
- Solo Paddle™ 5-piece rollable (included in drybag kit)
- Nano Pump (included in drybag kit)
- PFD - compact inflatable PFDs (like Mustang MIT 100) pack small enough for a handlebar bag
- 5mm bungee tie-downs (on-board) - for lashing dry bags to board on the water
- Leash (included in kit)
Dual-Use Gear That Earns Its Weight
- Drybag pack - serves as SUP carry bag AND overnight bag for clothes and sleep system
- Waterproof phone case - useful both on the water and in rain
- Tarp shelter - for protection at lakeside camps, also works as emergency wind shelter on exposed ridge
What to Expect the First Time
The first bikepack-SUP experience is usually a little awkward and completely worth it. The transition from riding to paddling requires a mental gear shift - you've been covering distance efficiently on the bike, and suddenly you're doing something slower, more present, more sensory.
Expect:
- 15-25 minutes to unpack, inflate, and set up at the water - it gets faster with practice
- Wobbly legs when you first stand up - cycling uses different stabilizers than SUP balancing
- A profound sense of rightness about having a paddleboard 50 miles into a bikepacking route
- Other bikepackers stopping to watch you inflate, looking puzzled, then asking where they can get one
The Board That Makes It Possible
This whole gear guide only works because the Solo SUP™ exists. Before it, there was no paddleboard designed for trail-carry and backcountry use. The 14.8 lb weight, the 40-liter drybag carry system, the rollable paddle, the quick-snap fins, these are engineering choices made specifically for people who want to go farther and get wetter.
Bikepackers are, at heart, the same kind of people. You want to see what's around the next corner. You want to cover more ground, find the quiet places, and earn the views. Adding a paddleboard to your rig doesn't make it harder, it makes it richer.
Pack the board. Find a lake. Find your flow.
Explore the Solo SUP™ - built for the roads less ridden: Pau Hana Solo SUP™ →

